
Sourdough Bread
Print
Sourdough Bread
Ingredients
Instructions
Sourdough bread is one of the oldest forms of leavened bread, cherished for its unique tangy flavor and artisanal texture. Unlike commercial yeast breads, sourdough relies on a natural starter made from flour and water, which cultivates wild yeast and beneficial bacteria. This gives sourdough its signature flavor, improved digestibility, and longer shelf life.
Baking sourdough at home is both rewarding and versatile. From crusty loaves perfect for sandwiches to soft, airy artisan-style bread, the possibilities are endless. Whether you’re a beginner or an experienced baker, understanding the basics of a sourdough starter, fermentation, and shaping will help you create bakery-quality bread in your own kitchen.
Why Sourdough is Special
- Unique Tangy Flavor: Natural fermentation creates a slightly sour, complex flavor.
- Chewy Crust & Soft Interior: The long fermentation develops texture and depth.
- Health Benefits: Contains beneficial bacteria and is easier to digest than some commercial breads.
- Versatile Uses: Perfect for sandwiches, toast, or paired with soups and spreads.
Making sourdough is not just baking—it’s an experience. Watching a starter bubble and rise, kneading the dough, and finally slicing into a fresh loaf is deeply satisfying. With attention to technique, patience, and practice, homemade sourdough can rival any bakery loaf, providing both flavor and a sense of accomplishment.
INGREDIENTS & FLAVOR PROFILE
Key Ingredients for Sourdough Bread
The secret to successful Sourdough Bread lies in using high-quality ingredients and understanding the role of each component.
Starter Ingredients
- Flour: Typically all-purpose, bread flour, or a mix; whole wheat can also be used for flavor and activity.
- Water: Filtered or dechlorinated water to encourage healthy fermentation.
The starter is the foundation of sourdough, cultivating natural wild yeast and bacteria that give the bread its signature tangy flavor.
Dough Ingredients
- Flour: Bread flour is ideal for strong gluten development, giving a chewy, structured loaf.
- Water: Hydration level affects dough consistency and crumb texture.
- Salt: Enhances flavor and strengthens gluten.
- Starter: Active, bubbly sourdough starter is used as the natural leavening agent.
Optional ingredients can include seeds, herbs, or whole grains for added flavor and texture.
Flavor Profile
Sourdough Bread is characterized by a tangy, slightly sour taste resulting from lactic acid produced during fermentation. The crust is golden and crisp, while the interior crumb is chewy, slightly elastic, and full of irregular air pockets.
Variations in hydration, fermentation time, and flour type can subtly alter the flavor and texture. For example, longer fermentation produces a more pronounced sour note, while whole-grain flours add earthy undertones. Seeds or herbs can add layers of aroma and taste, making sourdough versatile enough to pair with both savory and sweet dishes.
The natural fermentation not only contributes to flavor but also enhances digestibility, making sourdough easier on the stomach compared to some commercial breads. Its complex, layered flavor, chewy texture, and beautiful crust make it a standout in any meal, whether served simply with butter or as the base for an elaborate sandwich.
STEP-BY-STEP INSTRUCTIONS
How to Make Sourdough Bread
Baking Sourdough Bread at home may seem intimidating, but breaking it down into steps makes it approachable. Follow these instructions for a crusty, flavorful loaf.
Prepare the Starter
Ensure your sourdough starter is active and bubbly. Feed it 4–8 hours before baking, depending on its strength and room temperature. A healthy starter will double in size and show bubbles throughout.
Mix the Dough
In a large bowl, combine flour, water, and starter until a rough dough forms. Let it rest for 30 minutes to 1 hour for autolyse, which hydrates the flour and begins gluten development. After resting, add salt and gently knead until incorporated.
Bulk Fermentation
Cover the dough and allow it to rise at room temperature for 3–6 hours, depending on ambient temperature. During this time, perform a series of stretch-and-folds every 30–60 minutes to strengthen gluten and develop structure. The dough should become airy, slightly domed, and elastic.
 Shape the Dough
Turn the dough onto a lightly floured surface and shape it into a round or oval loaf. Place it in a proofing basket (banneton) or a bowl lined with a floured cloth. Cover and allow a final rise for 1–3 hours, until slightly puffy but not overproofed.
Preheat the Oven
Preheat your oven to 475°F (245°C) with a Dutch oven or baking stone inside. Preheating ensures the loaf gets a strong oven spring, producing a light, airy crumb and crisp crust.
Score and Bake
Carefully transfer the dough into the hot Dutch oven. Score the top with a razor or sharp knife to control expansion. Cover and bake for 20–25 minutes, then uncover and bake for another 20–25 minutes until the crust is deep golden brown.
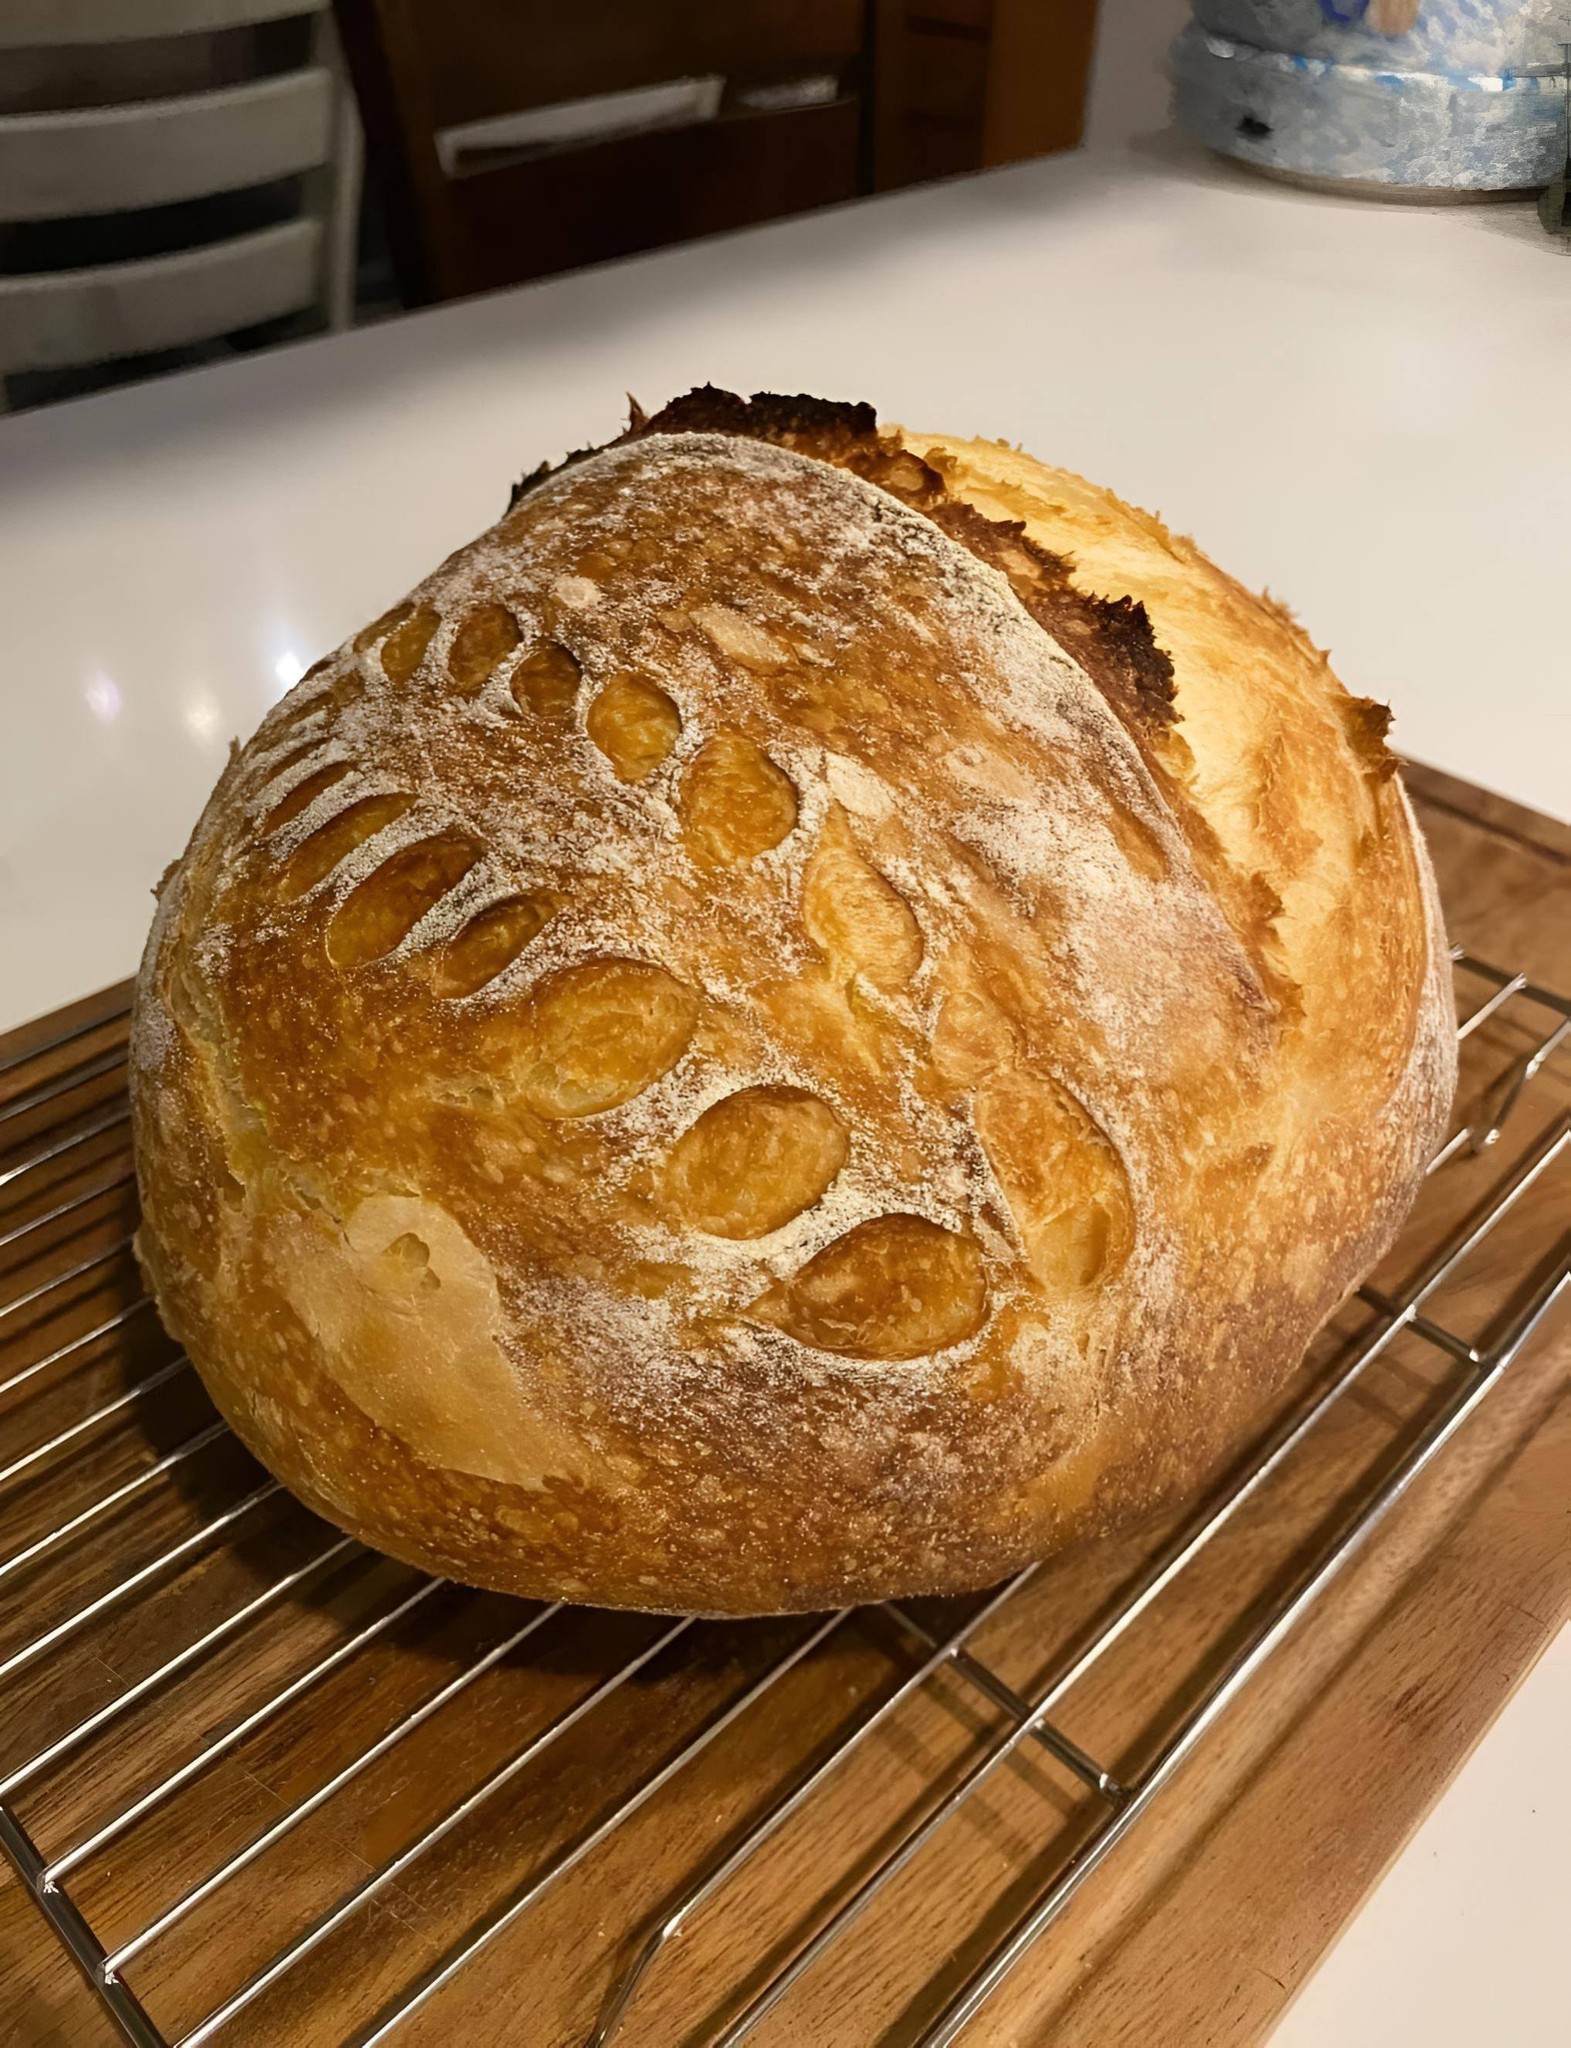
Cool and Slice
Remove the loaf from the oven and cool on a wire rack for at least 1–2 hours before slicing. Cooling allows the crumb to set fully and prevents a gummy interior.