
Mini Egg Cheesecake: The Perfect Easter Treat
If you’re searching for the ultimate indulgent dessert, this Triple Chocolate Mousse Cheesecake is your dream come true. With layers of rich chocolate cheesecake, silky mousse, and a decadent ganache topping—all nestled on a fudgy chocolate crust—this show-stopping treat is perfect for serious chocolate lovers and special occasions alike.
 Part 1: Introduction to Mini Egg Cheesecake
🧁 What Is Mini Egg Cheesecake?
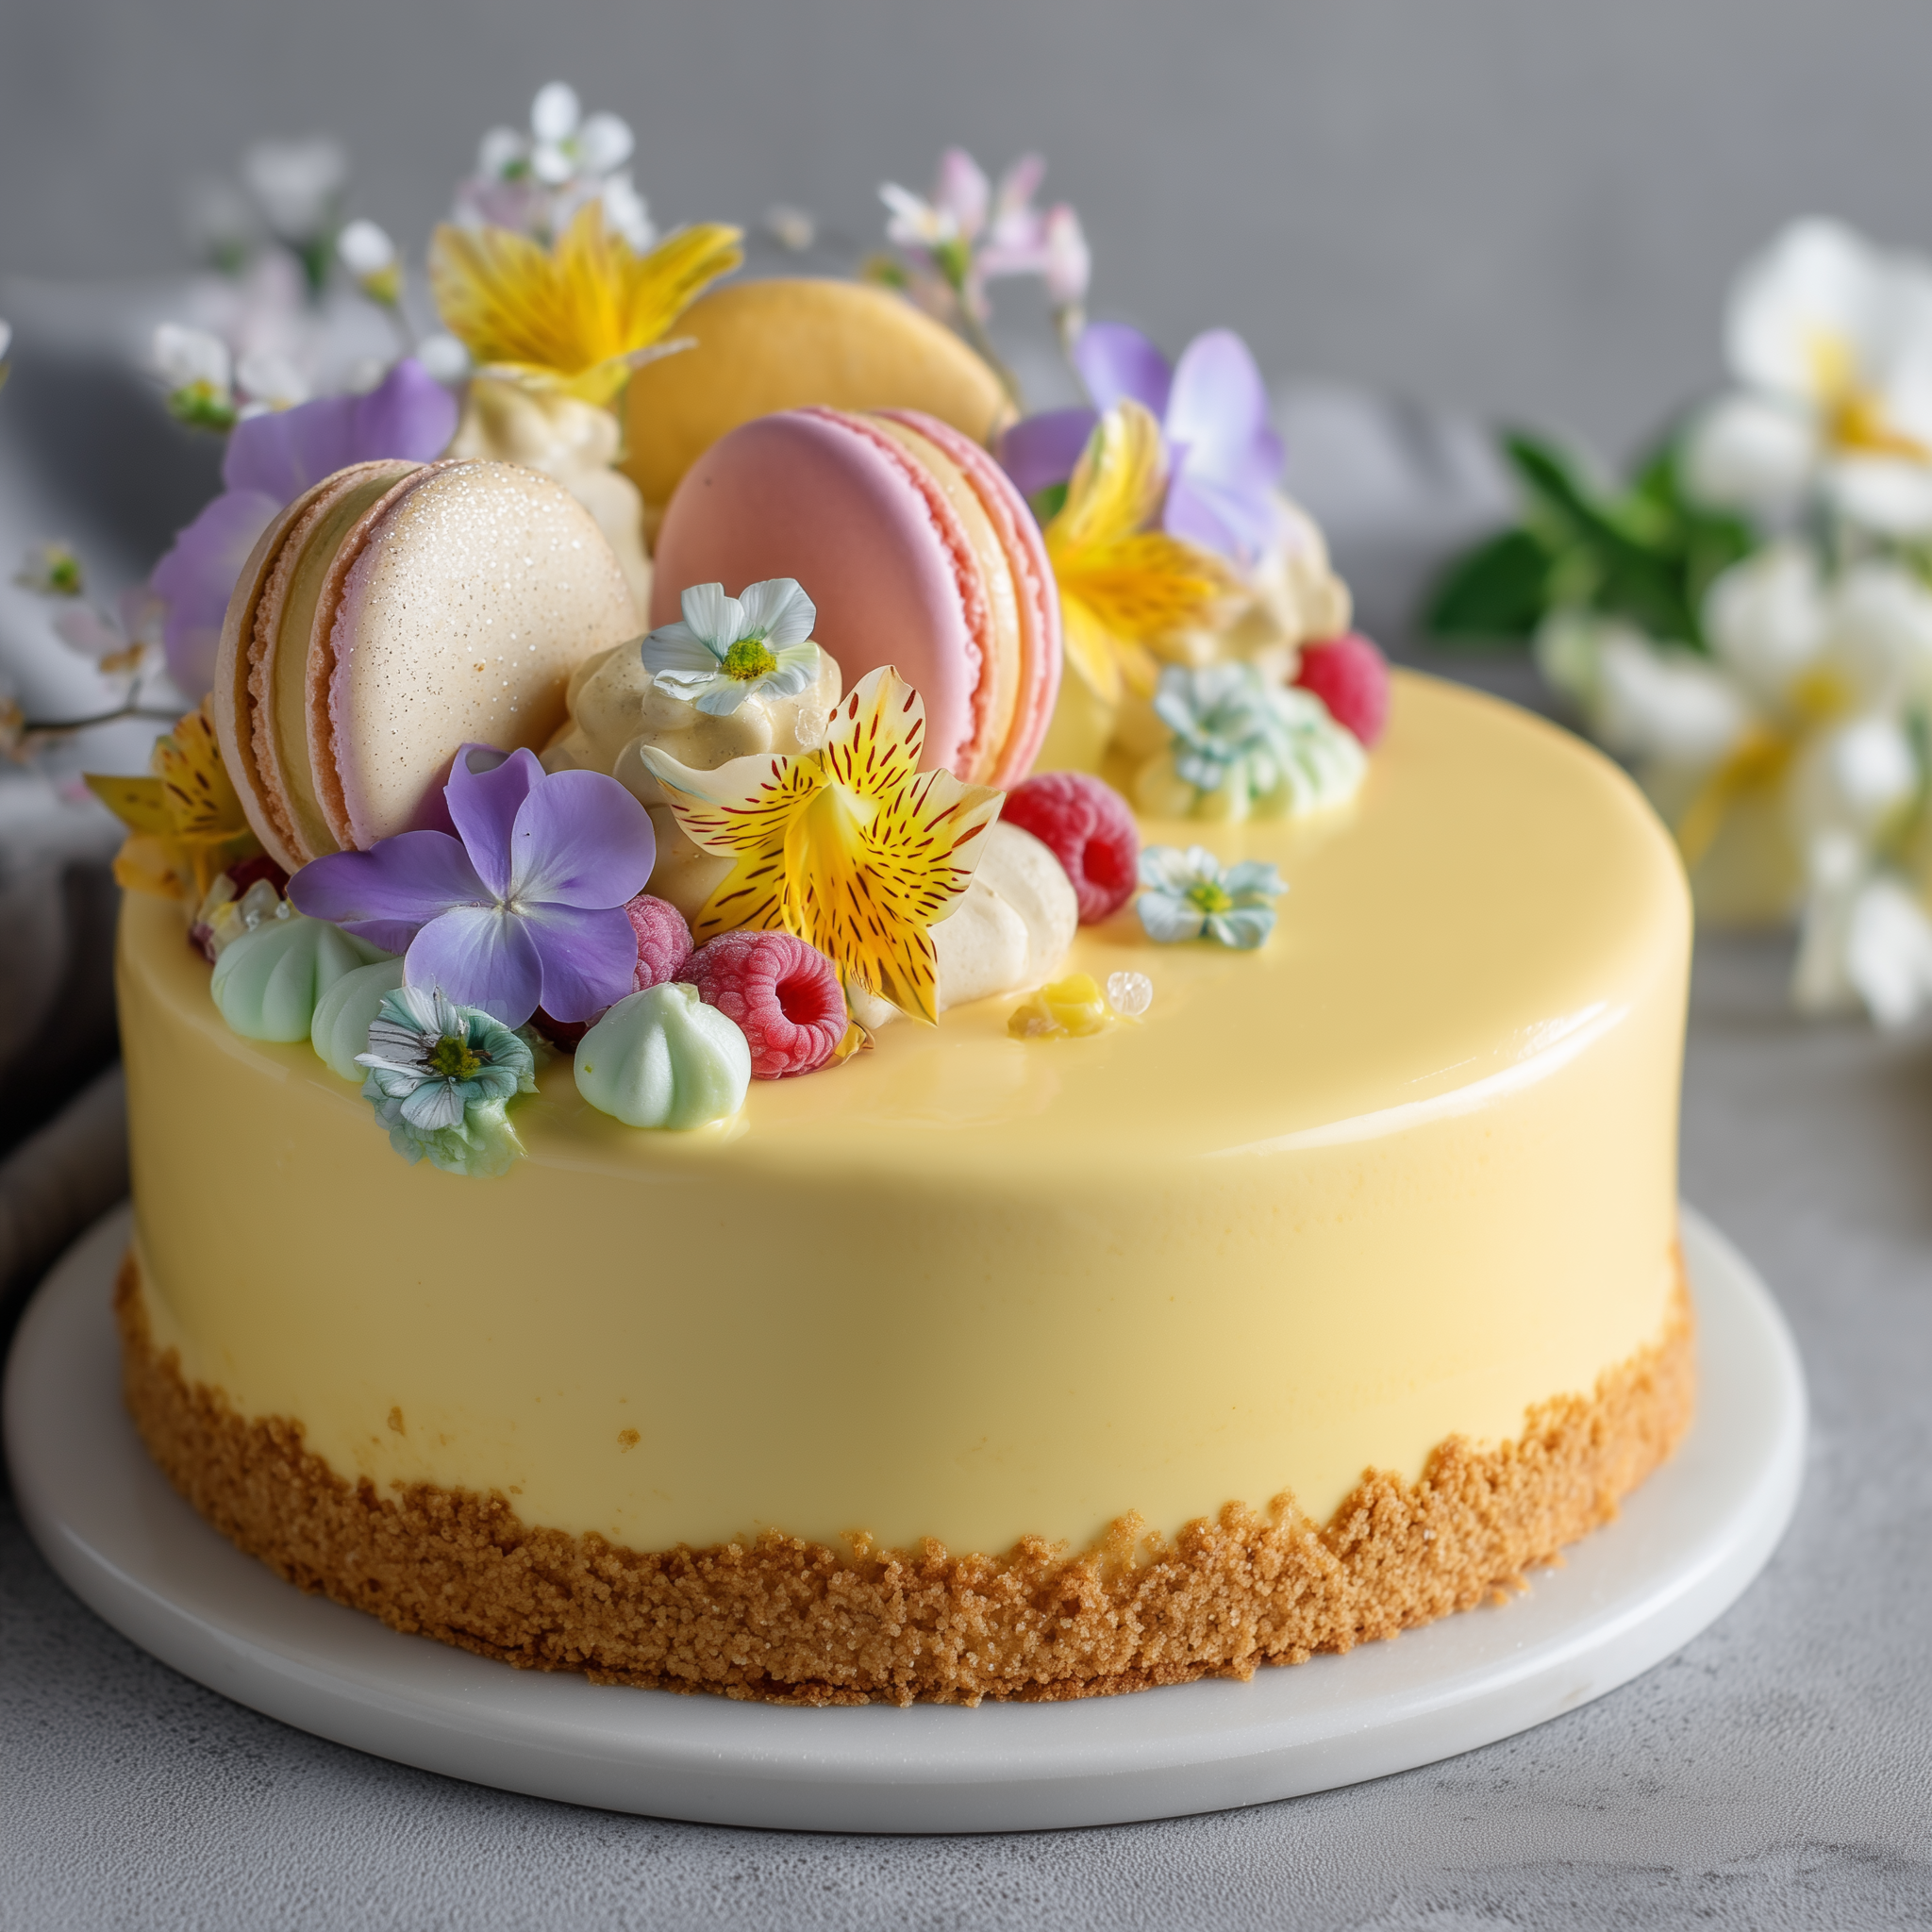
A Mini Egg Cheesecake is a delightful twist on the classic cheesecake, perfect for the spring season. This dessert features a creamy, no-bake cheesecake filling made with full-fat cream cheese, double cream, and a touch of icing sugar. What makes it special is the inclusion of Mini Eggs – the colorful, candy-coated chocolate eggs that are synonymous with Easter celebrations. When incorporated into the cheesecake, these little gems add texture, sweetness, and a touch of nostalgia that makes this dessert so irresistible.
Unlike traditional baked cheesecakes, Mini Egg Cheesecake requires no oven time, making it a quick and easy option for anyone looking to whip up something special without spending hours in the kitchen. The result? A perfectly creamy cheesecake with a light, airy texture that pairs beautifully with the crunch of Mini Eggs on top.
🐣 Why Mini Eggs Make the Perfect Cheesecake Addition
If you’ve ever tasted a Mini Egg, you know that these little chocolate candies are a treat all on their own. But when mixed into a cheesecake, they bring an entirely new level of excitement. The hard candy coating gives a satisfying crunch, while the chocolate inside melts in your mouth. This contrast in textures is what makes them a fantastic addition to the rich, creamy filling of a Mini Egg Cheesecake.
Moreover, Mini Eggs are not only delicious but also add a burst of color to your cheesecake, making it visually appealing for your Easter table. The pastel colors of the candy create a fun, festive vibe, perfect for celebrating the season.
Part 2: Ingredients You’ll Need for Mini Egg Cheesecake
🍫 Essential Ingredients for the Crust
The crust is the foundation of any cheesecake, and for Mini Egg Cheesecake, you’ll want something that complements the rich, creamy filling. A traditional cheesecake crust is often made from crushed digestive biscuits or graham crackers. For this recipe, we’re going with a simple yet delicious biscuit-based crust that provides a perfect crunch to contrast with the smoothness of the cheesecake filling.
-
Digestive biscuits (or graham crackers if you prefer) – 200g (7 oz)
-
Butter – 100g (about ½ cup)
-
Sugar – 2 tablespoons (optional, depending on your preference for sweetness)
The Mini Egg Cheesecake crust should be crunchy yet firm enough to hold the creamy filling, so make sure to press it down tightly in the base of your pan.
🍰 Creamy Cheesecake Filling Ingredients
Now, onto the star of the show—the Mini Egg Cheesecake filling! This creamy, velvety filling is what makes the cheesecake so irresistible. It’s made with common ingredients that are easy to find and prepare.
-
Cream cheese – 400g (about 14 oz), softened at room temperature
-
Double cream (or heavy cream) – 250ml (1 cup)
-
Icing sugar – 100g (about ½ cup), for sweetness
-
Vanilla extract – 1 teaspoon, for added flavor
-
Gelatine – 2 teaspoons (to help the filling set)
-
Mini Eggs – 100g (about 3.5 oz), roughly chopped
The combination of cream cheese and double cream creates a smooth, rich base. The icing sugar adds just the right amount of sweetness, while the vanilla extract enhances the flavor. Gelatine is essential for helping the cheesecake set without the need for baking, giving you that classic no-bake cheesecake consistency.
🍬 Mini Eggs: The Perfect Easter Addition
For the best results, you’ll want to use Cadbury Mini Eggs or a similar candy. These colorful, crunchy chocolate eggs provide the perfect balance of sweetness and texture for this cheesecake. You can either chop the eggs into smaller pieces for distribution throughout the cheesecake filling or use whole Mini Eggs for decoration on top.
Make sure to buy a fresh pack of Mini Eggs to ensure the best quality and taste. The vibrant colors will not only make your cheesecake visually stunning but will also bring an irresistible chocolate flavor with each bite.
 Part 3: How to Prepare the Mini Egg Cheesecake Crust
🍪 Crushing the Biscuits
First things first, let’s start by preparing the Mini Egg Cheesecake crust. This part is incredibly simple but essential for that perfect base. Begin by placing the digestive biscuits (or graham crackers) into a large zip-lock bag or between two sheets of parchment paper. Grab a rolling pin or anything heavy and smash the biscuits into fine crumbs. This step doesn’t have to be perfect, but the smaller the crumbs, the firmer the crust will be!
If you prefer an even texture, you can pulse the biscuits in a food processor. The key here is to make sure you have about 200g of crushed biscuits, which will give you a solid base for the cheesecake filling.
🧈 Mixing the Butter
Next, melt the butter. You can do this in a microwave or on the stovetop. Once melted, pour the butter over the crushed biscuits. Now, mix everything together until the crumbs are fully coated with the butter. This step is crucial because the butter holds everything together, helping the crust form its firm texture once set.
🍽️ Pressing the Crust into the Pan
Transfer the buttery biscuit mixture into the bottom of a springform pan (a 9-inch pan works great for this recipe). Using the back of a spoon or the bottom of a glass, press the crumbs down firmly. This helps to compact the crust so it doesn’t crumble when you cut into the cheesecake later. Make sure to press evenly across the bottom and up the sides if you prefer a crust that goes all the way around the cheesecake.
Once pressed, pop the pan into the refrigerator for about 20–30 minutes to allow the crust to set. This chilling step helps to keep the crust from falling apart once you add the cheesecake filling.
Now that your crust is ready and set, it’s time to move on to the cheesecake filling. But first, let’s check out a few tips to make sure your crust holds up beautifully!
Part 4: Preparing the Creamy Mini Egg Cheesecake Filling
🧀 Cream Cheese Base
For the Mini Egg Cheesecake filling, we’re aiming for a rich, creamy, and slightly tangy base that will perfectly complement the sweet crunch of the Mini Eggs. Start by taking 600g (about 3 packages) of full-fat cream cheese and letting it come to room temperature. This makes it easier to blend smoothly and ensures you get a velvety texture.
Using a hand mixer or stand mixer, beat the cream cheese until it’s completely smooth and lump-free. This is key—if your cream cheese isn’t smooth, your cheesecake might end up with an uneven texture, and that’s the last thing you want!
🍯 Adding the Sweetness
Next, add in 200g of granulated sugar and continue beating. The sugar will dissolve into the cream cheese, making the mixture light and fluffy. If you want to elevate the flavor even more, you can substitute a portion of the sugar with powdered sugar, but granulated works just fine.
Once the sugar is well incorporated, add 1 teaspoon of vanilla extract for that warm, comforting flavor. Vanilla extract can be a game-changer when it comes to enhancing the overall taste of your cheesecake filling. Don’t skip this!
🍳 Mixing in the Eggs
Add two large eggs, one at a time. Beat the mixture well after each addition, making sure each egg is fully incorporated before adding the next. Eggs are essential for setting the cheesecake filling. They help give it that rich, smooth texture and allow it to firm up in the oven. Just be careful not to overmix at this stage, as too much air can cause cracks in your cheesecake later.
🍶 Incorporating the Sour Cream
To achieve a smooth, luscious finish, add 200g of sour cream. Sour cream brings a tanginess that perfectly balances the sweetness from the sugar, giving the Mini Egg Cheesecake its signature flavor. Continue mixing until the mixture is smooth and creamy.
🍫 The Star of the Show: Mini Eggs!
Now comes the fun part—add your chopped Mini Eggs! To make them the perfect size, simply place the Mini Eggs in a zip-lock bag and crush them using a rolling pin. Aim for roughly chopped pieces, so you get that satisfying crunch with every bite. Stir the chopped Mini Eggs into the cheesecake filling gently with a spatula, making sure they’re evenly distributed throughout the mixture.
🔥 Baking the Cheesecake
Preheat your oven to 160°C (320°F) and carefully pour the cheesecake filling into your chilled crust. Smooth the top with a spatula to ensure an even layer.
Now, bake the Mini Egg Cheesecake for about 45–50 minutes. You’ll know it’s done when the edges are set, but the center still slightly wobbles when you gently shake the pan. This is totally normal, and it will firm up as it cools.
Once baked, turn off the oven and let the cheesecake cool in the oven with the door slightly ajar for about an hour. This will help prevent cracks from forming on top. After that, move the cheesecake to the fridge for at least 4 hours, or preferably overnight, to set.
Part 5: Assembling and Decorating the Mini Egg Cheesecake
🥄 Assembling the Cheesecake
Once your Mini Egg Cheesecake has had the chance to cool and set in the fridge, it’s time to assemble and bring it all together! The cheesecake should be firm enough to hold its shape, yet creamy enough to offer that melt-in-your-mouth texture.
Carefully remove the cheesecake from the springform pan. If you’re worried about sticking, run a knife around the edge before opening the pan. This ensures you get a clean, perfect release, leaving your cheesecake intact and beautiful.
Place the cheesecake onto a serving plate or cake stand. If you’ve used a parchment paper lining, now is the time to gently peel it away.
🍫 Decorating with Mini Eggs
For that final touch, it’s time to get creative with decorating. You’ve already added chopped Mini Eggs to the filling, but now you’ll sprinkle the top with whole Mini Eggs to create a visually appealing look and add that extra chocolatey crunch. Aim for a generous amount, but you can get as creative as you want with the arrangement. Whether you want a simple, scattered look or a symmetrical, artistic design, the choice is yours!
To elevate the visual appeal, you can also add a drizzle of melted chocolate or a bit of whipped cream. Simply melt some dark or milk chocolate in the microwave, and using a spoon, drizzle it over the top of the cheesecake in a zigzag pattern. This not only adds to the presentation but also gives a delicious chocolatey flavor that pairs perfectly with the Mini Egg topping.
🍯 Adding a Drizzle of Honey or Caramel
For an extra touch of indulgence, drizzle a bit of honey or caramel sauce over the top of your Mini Egg Cheesecake. The sweet golden drizzle will contrast beautifully with the darker chocolate and enhance the overall taste. The added sweetness gives a lovely balance to the rich, creamy cheesecake filling, taking your dessert to the next level.
Honey, with its natural sweetness and smooth texture, complements the creaminess of the cheesecake filling, making each bite that much more delightful. If you prefer a stronger flavor contrast, opt for caramel, which will add depth and a bit of richness.
🍓 Optional Fresh Fruit Garnishes
If you want to incorporate a touch of freshness, adding some berries like strawberries or raspberries can work wonders. The tartness of the fruit will cut through the richness of the cheesecake, giving it a balanced and refreshing flavor profile. Simply scatter a few fresh berries around the edges of the cheesecake, or create a berry crown in the center.
The combination of the sweet and tangy berries with the creamy, chocolatey cheesecake creates a beautiful and flavor-packed dessert that’s perfect for any occasion.
🧁 Serving and Enjoying
Once your Mini Egg Cheesecake is decorated and ready, it’s time to slice it up and serve! Use a sharp knife to cut clean slices. For the best results, dip your knife in warm water between cuts to ensure smooth slices.
The cheesecake can be served chilled, making it the perfect dessert for warm days, special events, or just a casual gathering. It pairs wonderfully with a cup of coffee or tea, adding a delightful twist to your dessert experience.
 Part 6: Tips for Perfecting Your Mini Egg Cheesecake
🧑🍳 Tips for a Smooth and Creamy Cheesecake
To ensure your Mini Egg Cheesecake turns out perfectly creamy and smooth, there are a few essential tips to follow during the preparation and baking process.
-
Room Temperature Ingredients: Always make sure that your cream cheese, eggs, and sour cream are at room temperature before you begin mixing. This helps to create a smoother filling without lumps. Cold ingredients tend to separate or cause the batter to curdle.
-
Don’t Overmix: While it’s important to mix your ingredients well, be careful not to overdo it. Overmixing can lead to a dense and cracked cheesecake. When you’re incorporating your eggs, mix only until combined. Overbeating can incorporate too much air into the mixture, which could lead to cracking during baking.
-
Avoid Overbaking: One common mistake when baking cheesecakes is overbaking. Overbaking causes the texture to become dry and can lead to cracks. You want to remove your cheesecake from the oven when the edges are set but the center still jiggles slightly. This residual heat will continue to cook the cheesecake as it cools down.
-
Baking in a Water Bath: To avoid cracks and achieve a silky-smooth texture, consider baking your cheesecake in a water bath. This method helps regulate the temperature while baking, keeping the cheesecake moist and preventing it from overcooking. To do this, wrap the outside of your springform pan with aluminum foil and place it in a larger pan filled with hot water during baking.
🍰 Troubleshooting Common Issues
Even with the best preparation, sometimes things don’t go as planned. Here are some troubleshooting tips to help you fix any issues:
-
Cracked Cheesecake: If your cheesecake develops cracks, don’t worry! You can cover them up with the Mini Egg toppings, melted chocolate drizzle, or even a layer of whipped cream. If the cracks bother you, you can always turn it into a no-bake version to avoid the issue altogether.
-
Soggy Crust: If your crust is soggy after baking, it might be due to excess butter or an undercooked crust. To prevent this, bake the crust slightly before adding the filling. Pre-baking for about 10 minutes at 350°F (175°C) helps solidify the crust, giving it more structure.
-
Too Sweet or Too Tart: Adjust the balance of sweetness and tartness by playing with the sugar and lemon juice quantities. For those who like a more tangy cheesecake, consider adding a touch more lemon juice, or for a sweeter variation, you can increase the sugar just a little.
🧊 Freezing for Later Enjoyment
One of the best things about a Mini Egg Cheesecake is that it can be made in advance and frozen for later enjoyment. Simply wrap the cheesecake in plastic wrap and foil after it has cooled. Then, store it in the freezer for up to three months. When ready to serve, let it thaw in the fridge overnight. You’ll have a decadent treat ready to go for any occasion!
Part 7: FAQ – Everything You Need to Know About Mini Egg Cheesecake
🤔 Frequently Asked Questions About Mini Egg Cheesecake
When it comes to making a Mini Egg Cheesecake, there are always questions that pop up. Whether you’re a first-time baker or a cheesecake pro, these FAQs can help clarify any uncertainties and make your baking experience smoother!
Can I Use Other Chocolate Eggs Instead of Mini Eggs?
Yes, absolutely! While Mini Eggs are the star of this cheesecake, you can substitute them with other types of chocolate eggs or candy. Think along the lines of Cadbury Crème Eggs, Whoppers, or even Maltesers. Keep in mind that each candy has a unique flavor profile, so it may slightly alter the taste of your cheesecake.
How Long Does Mini Egg Cheesecake Last?
A properly stored Mini Egg Cheesecake can last up to 5-7 days in the refrigerator. Make sure to cover it tightly with plastic wrap or place it in an airtight container to maintain its freshness. If you’ve added whipped cream on top, it’s best to consume it within a couple of days for optimal texture.
Can I Make Mini Egg Cheesecake Gluten-Free?
Yes! To make your Mini Egg Cheesecake gluten-free, simply substitute the regular digestive biscuits or graham crackers for gluten-free versions. Be sure to check the label of the Mini Eggs as well, although most brands are naturally gluten-free. This ensures your cheesecake remains both delicious and safe for those avoiding gluten.
Can I Make This Cheesecake in a No-Bake Version?
If you’re not a fan of baking or want to save time, you can easily turn your Mini Egg Cheesecake into a no-bake dessert. For the filling, simply use whipped cream cheese, whipped cream, and powdered sugar, and omit the eggs. Chill the cheesecake for several hours, allowing it to set, and top it with your Mini Eggs before serving.
How Do I Store Leftover Mini Eggs?
Leftover Mini Eggs can be stored at room temperature in an airtight container. They usually last for several months, so you can keep them on hand for your next cheesecake or other baking projects. However, make sure to avoid exposing them to excessive heat to prevent the chocolate from melting.
Can I Freeze Mini Egg Cheesecake?
Absolutely! If you want to prepare your Mini Egg Cheesecake ahead of time, freezing it is a great option. After it has cooled and set, wrap it tightly in plastic wrap and then in aluminum foil. Store it in the freezer for up to 3 months. To thaw, simply place it in the fridge overnight before serving.
Should I Use Dark or Milk Chocolate Mini Eggs?
The choice between dark or milk chocolate Mini Eggs depends on your personal taste preference. Milk chocolate adds a sweeter, creamier flavor, while dark chocolate offers a richer, more intense flavor. You can even mix both types for a balanced flavor that appeals to everyone!
Can I Add Extra Toppings to the Cheesecake?
Yes, feel free to get creative with your toppings! Mini Egg Cheesecake is incredibly versatile and pairs well with various toppings like whipped cream, melted chocolate drizzle, caramel sauce, or even crushed nuts. The more you experiment, the more personalized and indulgent your cheesecake will become!
💡 Conclusion
By answering these frequently asked questions, we hope to clear up any confusion and help you make the best possible Mini Egg Cheesecake. Whether you want to try different variations, store it properly, or adapt the recipe to meet dietary preferences, these tips will ensure your cheesecake is a success every time!
Print
Mini Egg Cheesecake Recipe – A Decadent Springtime Dessert
Recipe of the Week – Mini Egg Cheesecake
Ingredients
Instructions
- Author: laura