
Introduction:
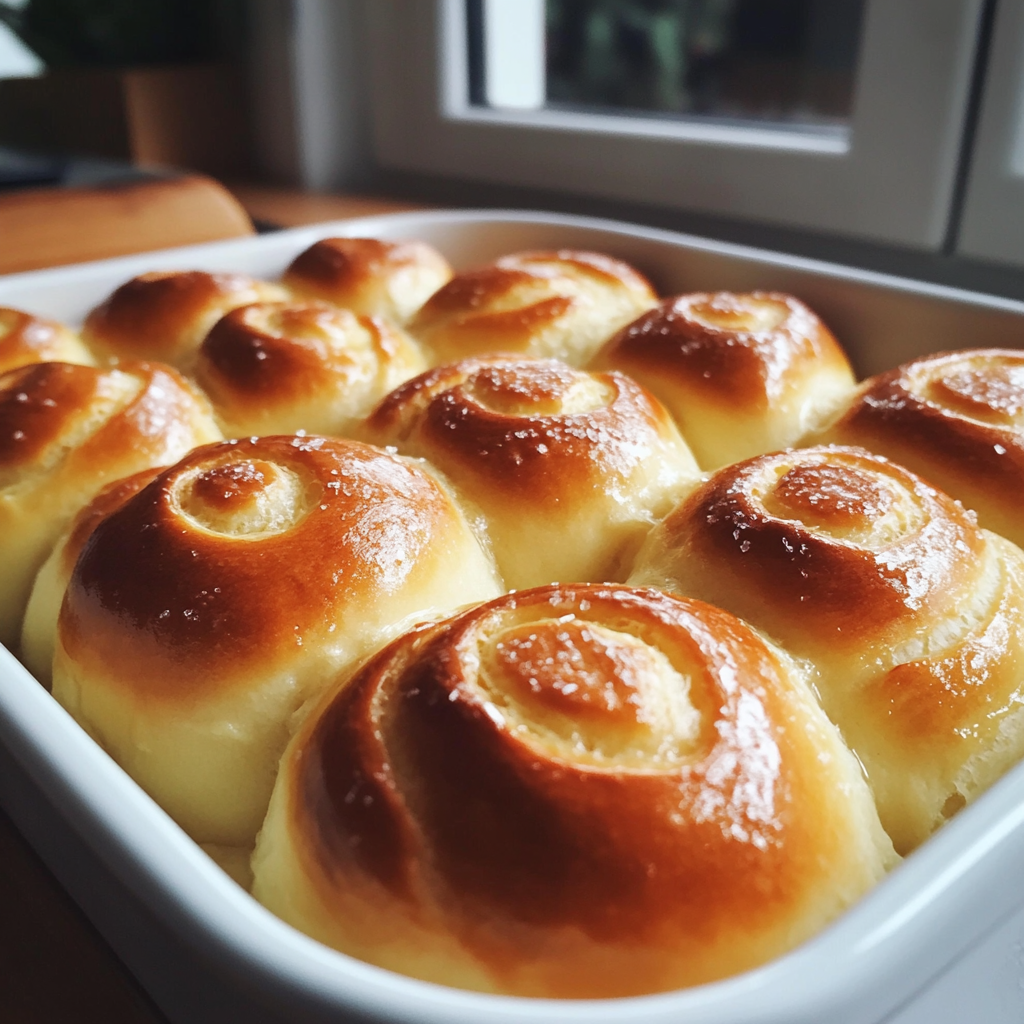
If you’re looking for an easy hot cross buns recipe that yields soft, fluffy, and flavorful buns every time, you’re in the right place. Hot Cross Buns are a traditional favorite, especially during Easter, but they make a perfect treat any time of the year. With simple ingredients and easy-to-follow steps, you’ll be able to bake delicious hot cross buns that everyone will love.
Part 1: Introduction to Easy Hot Cross Buns
What Are Hot Cross Buns?
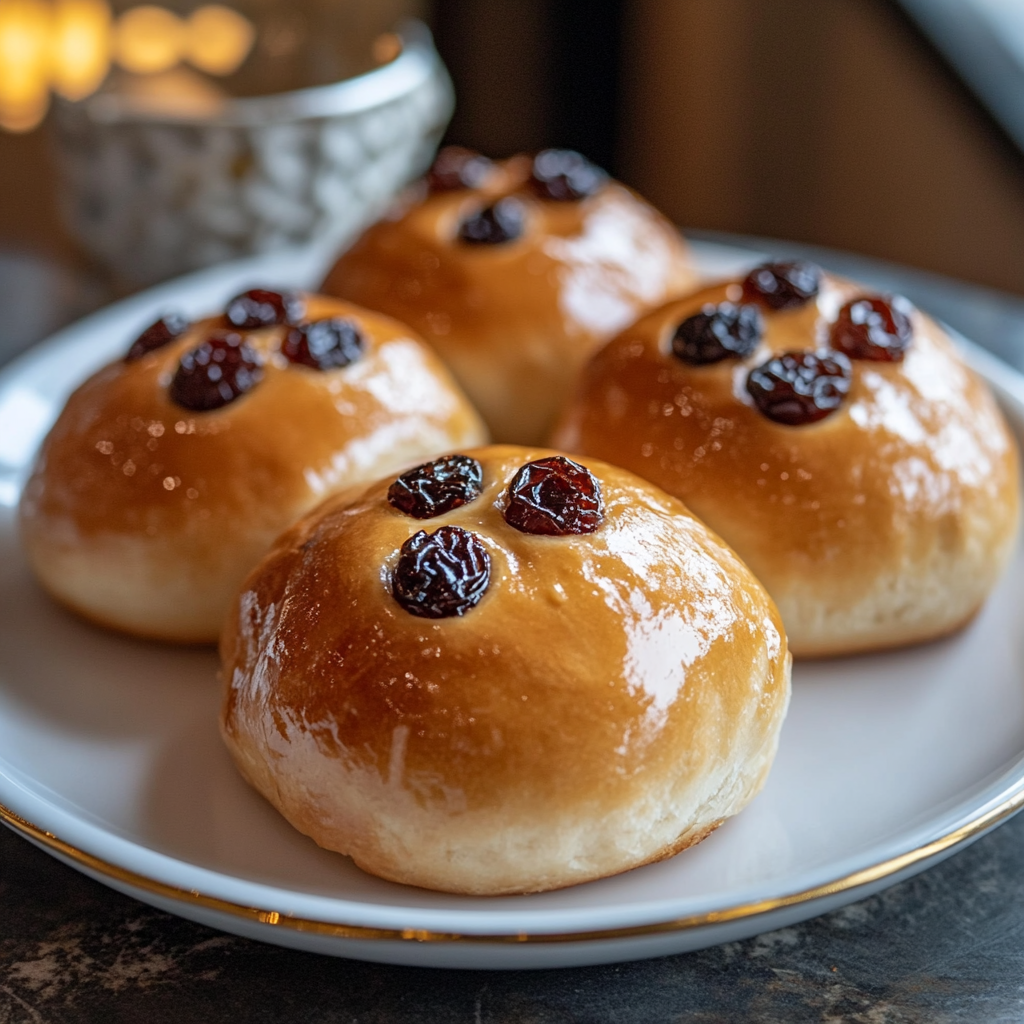
You might have seen these little beauties in bakeries during Easter, but have you ever wondered about their origins? Hot Cross Buns are sweet, spiced buns typically filled with dried fruits and topped with a distinctive cross. This cross was originally made with dough and symbolizes the Christian faith, representing the crucifixion of Jesus. Historically, these buns were thought to have protective powers, and they were often hung in kitchens to ward off evil spirits.
Today, Hot Cross Buns are enjoyed year-round, though they’re most commonly associated with Good Friday and Easter celebrations. The traditional recipe has stayed largely the same over the years—fluffy buns with a rich, spiced flavor. However, bakers have added their own personal twists with ingredients like chocolate chips, orange zest, or even a simple glaze for extra sweetness.
Why Choose Easy Hot Cross Buns?
Making easy Hot Cross Buns at home might sound like a challenge, but trust us, it’s way simpler than it looks! With just a few essential ingredients and a little patience, you can create soft, homemade buns without any complicated techniques. Whether you’re a beginner baker or an experienced one, this recipe will allow you to enjoy fresh, homemade buns in a fraction of the time. Plus, there’s something magical about the aroma of freshly baked bread filling your home—making Hot Cross Buns is a special, almost nostalgic experience.
But why should you go through the effort? For starters, homemade Hot Cross Buns are way tastier than store-bought versions. When baked from scratch, they’re softer, fluffier, and more flavorful. Additionally, you have complete control over the ingredients—so you can customize the recipe to suit your tastes. Want fewer raisins or a glaze made with honey? You got it! So, if you’re looking for an easy yet rewarding baking project, Hot Cross Buns are definitely worth trying.
 Part 2: Ingredients for Easy Hot Cross Buns
Essential Ingredients You’ll Need
Before you roll up your sleeves and get your hands into the dough, let’s gather the necessary ingredients for these easy Hot Cross Buns. While it may look like a long list, don’t worry! These ingredients are pretty basic and likely already in your pantry. Here’s what you’ll need:
-
Flour: All-purpose flour works best here. You need around 4 cups to create a light and fluffy dough. It forms the structure of your Hot Cross Buns, giving them that pillowy texture we all crave.
-
Yeast: For that perfect rise, you’ll need active dry yeast. Yeast is the magic ingredient that helps the dough rise, giving the buns that soft, airy texture. One packet (about 2 ¼ teaspoons) is enough to get the job done.
-
Sugar: Granulated sugar sweetens the dough just enough without overpowering the spices. You’ll need about ¼ cup for the dough, and some extra for the glaze.
-
Butter: Butter adds richness and flavor. You’ll use around ¼ cup of softened butter, which helps the dough stay moist and tender.
-
Milk: Use whole milk for the best results, as it will keep the buns soft and creamy. Around ¾ cup should suffice.
-
Eggs: Eggs bind the dough together and contribute to the texture. You’ll need two eggs—one for the dough and one for brushing over the buns before baking for that golden finish.
-
Raisins or Currants: These dried fruits are traditional in Hot Cross Buns, giving the buns a sweet and chewy texture. Feel free to adjust the amount depending on how fruity you like your buns, but ½ cup should be just right.
-
Spices: Ground cinnamon and nutmeg are essential for that warm, aromatic flavor. You’ll need just a pinch of each to give the buns that signature spiced taste.
-
Salt: A pinch of salt helps balance out the sweetness and enhances the flavor of the other ingredients.
-
Vanilla Extract: For a touch of vanilla sweetness, add 1 teaspoon to your dough. It’s optional, but it elevates the overall taste.
-
Glaze: To give your Hot Cross Buns a shiny, sweet finish, a simple glaze made with powdered sugar, milk, and vanilla extract will do the trick. This is the finishing touch that makes these buns truly irresistible.
Optional Add-ins and Variations
Although the traditional Hot Cross Buns recipe sticks to raisins or currants, you can totally personalize your buns with different add-ins. Want a more tropical vibe? Try adding dried pineapple or coconut flakes. If you love chocolate, mix in chocolate chips for a gooey surprise in every bite. Or for a citrusy twist, add orange zest to your dough.
No matter what you choose, the key is to keep the dough soft and not too packed with extras, as too many add-ins can affect the texture. Play around with flavors and make them your own!
Part 3: Making the Dough for Easy Hot Cross Buns
Preparing the Yeast Mixture
The key to soft, fluffy Hot Cross Buns is a well-prepared dough, and that starts with activating the yeast. This process is crucial to ensuring your buns rise properly.
-
Heat the Milk: Warm up ¾ cup of whole milk in a small saucepan. You want it to be lukewarm—about 110°F. If it’s too hot, it can kill the yeast, so be sure to keep the temperature in check.
-
Dissolve the Yeast: Once the milk is warm, pour it into a bowl and sprinkle the active dry yeast over it. Add a teaspoon of sugar to help activate the yeast. Stir gently and let it sit for about 5-10 minutes. During this time, you should notice the mixture becoming frothy or bubbly. That’s the yeast waking up and doing its magic!
Mixing the Dough
Now that your yeast mixture is ready, it’s time to bring everything together.
-
Combine Dry Ingredients: In a large mixing bowl, combine 4 cups of all-purpose flour, ¼ cup of sugar, a pinch of salt, and your cinnamon and nutmeg. Stir them together until well mixed. This is the dry base for your dough.
-
Add Wet Ingredients: Make a well in the center of the dry ingredients and add the yeast mixture, 2 beaten eggs, and ¼ cup of softened butter. Use a spatula or wooden spoon to mix everything together.
-
Incorporate the Fruit: Once the dough is just starting to come together, toss in your raisins or currants (or any other dried fruit you’ve chosen) and gently fold them in. This ensures that they’re evenly distributed throughout the dough.
Kneading the Dough
Now comes the fun part—kneading! This step is important for developing the right texture in your Hot Cross Buns.
-
Knead the Dough: Lightly flour a clean surface and turn your dough out onto it. Begin kneading the dough by pushing it away from you with the heels of your hands, folding it over, and then rotating it a quarter turn. Repeat this process for about 8-10 minutes, until the dough is smooth, elastic, and slightly tacky to the touch. You may need to add a bit more flour to prevent sticking, but be careful not to add too much, as this can affect the texture.
-
Form a Ball: Once the dough is kneaded, shape it into a ball and place it in a lightly greased bowl. Cover it with a clean kitchen towel or plastic wrap.
Allow the Dough to Rise
Here’s where patience comes in—let the dough rise for about 1 to 1.5 hours, or until it’s doubled in size. This is the magic of yeast at work, so be sure to set a timer and check the dough periodically.
 Part 4: Shaping and Preparing the Buns
Shaping the Dough
After your dough has risen to perfection, it’s time to shape it into those iconic Hot Cross Buns. This step is pretty simple, and it’s all about dividing the dough into equal portions and forming round buns. Here’s how to do it:
-
Punch Down the Dough: Once your dough has risen, gently punch it down with your fist to release any air bubbles. This is a crucial step in making sure your buns don’t have large pockets of air, which could affect their texture.
-
Divide the Dough: Turn the dough out onto a lightly floured surface and divide it into 12 equal pieces. A kitchen scale is a handy tool here if you want to ensure each piece is the same size, but if you don’t have one, eyeballing it works just fine.
-
Shape the Buns: Take each piece of dough and roll it between your hands to form a smooth ball. Make sure the surface is taut and smooth. The smoother the ball, the better the buns will rise and bake evenly.
Arranging the Buns on a Baking Tray
-
Prepare the Baking Tray: Line a baking sheet with parchment paper or lightly grease it with butter. Place the dough balls on the tray, leaving just a little bit of space between them. This allows them to rise properly and stick together as they bake, giving you the characteristic “touching” look of Hot Cross Buns.
-
The Cross: Once all your buns are on the tray, you can create the cross design on top. Traditionally, this is done with icing after baking, but if you want to make it even easier, you can use a simple paste to pipe the cross on before baking.
To make the paste: Mix ½ cup of all-purpose flour with 3 tablespoons of water (or as much as needed) to create a thick paste. Transfer this paste to a piping bag and pipe a cross over each bun. If you don’t have a piping bag, a simple plastic bag with the tip cut off works just fine.
Let the Buns Rise Again
Once your buns are shaped and the crosses are piped, cover the tray loosely with a clean kitchen towel or plastic wrap. Let them rise for another 30-45 minutes until they have puffed up and are almost touching each other. This second rise ensures that your buns will be light and airy when baked.
While the buns are rising, preheat your oven to 375°F (190°C) so it’s nice and hot when it’s time to bake.
Next Step: Baking the Buns
You’re almost there! Once the dough has had its second rise, you’re ready to pop these Hot Cross Buns into the oven. The next step is where the magic really happens—the buns will bake up golden brown and delicious. Stay tuned for the baking process, where we’ll also show you how to glaze them for that shiny finish!
Part 5: Baking and Glazing the Hot Cross Buns
Baking the Buns
Once your Hot Cross Buns have risen and are beautifully shaped, it’s time to bake them to golden perfection.
-
Preheat the Oven: Preheat your oven to 375°F (190°C). This is the perfect temperature to give your buns a golden, crispy exterior while keeping the inside soft and fluffy.
-
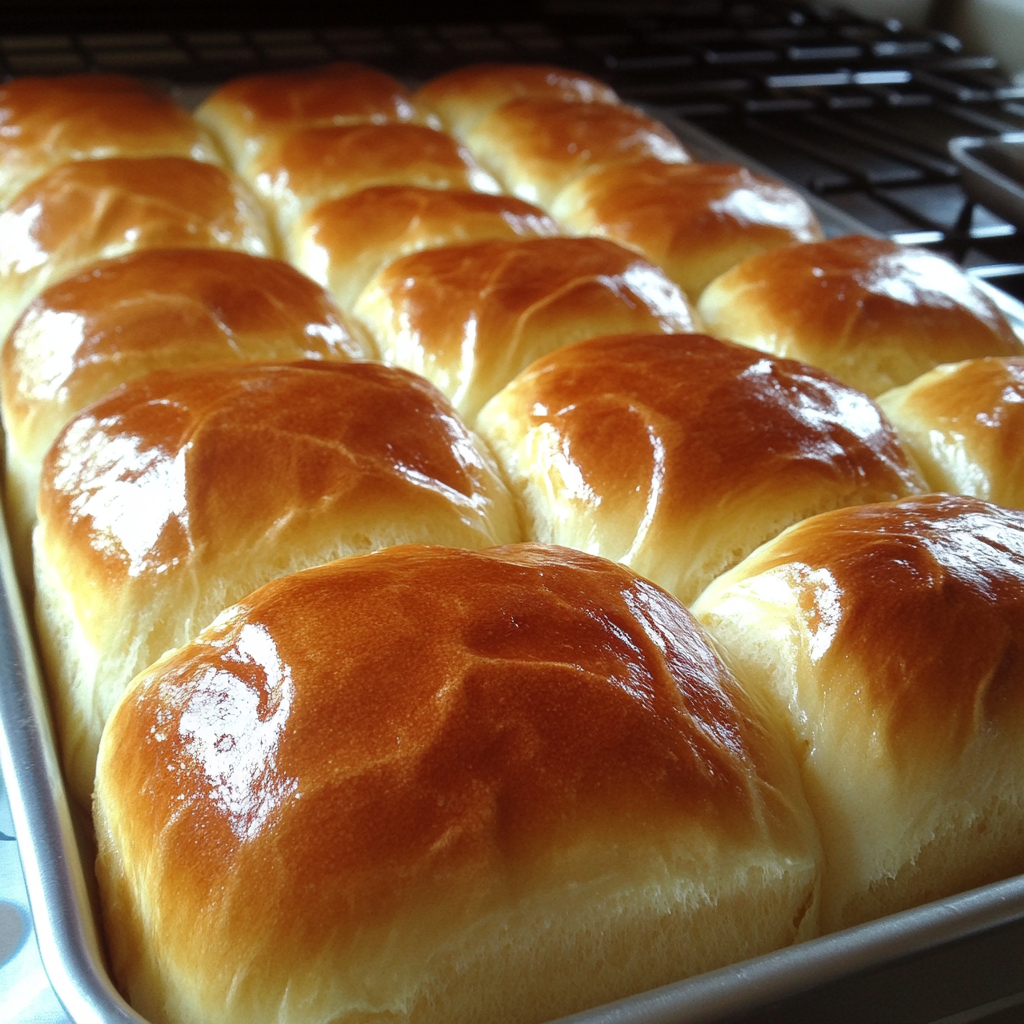
Bake the Buns: Place the baking tray in the oven and bake for 15-20 minutes, or until the buns are golden brown on top and the bottoms sound hollow when tapped. Be sure to check the buns towards the end of the baking time to avoid over-baking them, as every oven is different.
-
Let the Buns Cool: Once the buns are out of the oven, let them cool on the tray for about 5 minutes. Then, transfer them to a wire rack to cool completely, or until they’re just cool enough to handle.
Glazing the Buns
Now comes the fun part—adding the glossy glaze that will make your Hot Cross Buns shine. This sweet finish is an important part of the classic recipe and gives your buns that irresistible, slightly sweet topping.
-
Make the Glaze: In a small saucepan, combine 2 tablespoons of water with 2 tablespoons of sugar. Heat the mixture over medium heat, stirring constantly until the sugar dissolves completely. Bring it to a simmer for a couple of minutes until it becomes syrupy.
-
Glaze the Buns: Once the glaze is ready, use a pastry brush to lightly brush the warm syrup over the tops of your Hot Cross Buns. This will give them that beautiful, glossy finish. It also helps to lock in the moisture, making the buns even softer.
-
Optional Cross Icing: If you prefer a more traditional look, you can make an icing for the cross on top of each bun. Mix 1/2 cup of powdered sugar with a teaspoon of water (or milk) until you get a smooth, thick icing. Transfer the icing to a piping bag, and pipe a cross over the buns once they’ve cooled slightly.
Enjoying Your Hot Cross Buns
Once your Hot Cross Buns are glazed and the icing is set, you’re ready to dig in! These buns are best enjoyed fresh out of the oven when they’re still warm, but they can be stored in an airtight container for up to 2-3 days.
They’re perfect for breakfast, afternoon tea, or as a delicious treat any time of day. Whether you enjoy them with a pat of butter or a dollop of jam, these buns are sure to be a hit with your family and friends!
In the next section, we’ll answer some frequently asked questions and share a few tips to make your Hot Cross Buns even more perfect. Stay tuned!
Part 6: Frequently Asked Questions (FAQs) About Hot Cross Buns
1. What makes Hot Cross Buns different from regular buns?
Hot Cross Buns are distinct because they are traditionally made with spices like cinnamon and nutmeg, and they are studded with dried fruits such as currants or raisins. They also feature a signature cross on top, which is either piped with icing or made with a paste before baking. The spices, fruit, and the cross are what make these buns unique, especially around Easter!
2. Can I make Hot Cross Buns ahead of time?
Yes, you can! To prepare in advance, you can make the dough and allow it to rise, then refrigerate it overnight. The next morning, let the dough come to room temperature before shaping and baking. Alternatively, you can bake the buns and store them in an airtight container for up to 2-3 days. If you want to keep them fresh for longer, you can freeze them for up to a month—just make sure to wrap them tightly in plastic wrap before freezing.
3. Can I use different fruits in my Hot Cross Buns?
Absolutely! While currants and raisins are traditional, you can switch them out for other dried fruits like sultanas, cranberries, or even dried apricots. You can also add a mix of fruits for extra flavor and variety. Just remember that the moisture content of some dried fruits may differ, so adjust your dough if needed.
4. How do I make my Hot Cross Buns extra soft and fluffy?
To get the softest buns, make sure you knead the dough well to develop the gluten. The more you knead, the fluffier your buns will be. Also, don’t skip the second rise; it allows the dough to become airy. Using fresh yeast and ensuring that your dough isn’t overworked or underproofed are also essential for light, soft buns.
5. Can I make Hot Cross Buns without the cross?
Yes! While the cross is a traditional feature, you can leave it off if you prefer. The buns will still be delicious without it, though the cross does add a touch of decoration and a bit of sweetness from the glaze or icing.
6. Can I use whole wheat flour for Hot Cross Buns?
You can definitely substitute some of the all-purpose flour with whole wheat flour for a more wholesome version. However, keep in mind that whole wheat flour has a denser texture, so your buns may turn out a bit heavier. A good rule of thumb is to swap no more than half of the flour for whole wheat.
Part 7: Tips for Perfecting Your Hot Cross Buns and Serving Suggestions
Tips for Perfect Hot Cross Buns
Getting your Hot Cross Buns just right can sometimes feel like a challenge, but with a few pro tips, you’ll be able to bake them to perfection every time. Here are some tricks to help:
-
Use Room Temperature Ingredients: Ensure that your milk, butter, and eggs are at room temperature. Cold ingredients can slow down the rising process, making it harder for your dough to reach its full potential. If you’re in a hurry, you can warm the milk slightly before adding it to the yeast.
-
Don’t Rush the Rising Process: Allow the dough to rise fully during both stages. The first rise should double the size of the dough, and the second rise should make the buns puff up nicely before baking. Patience is key to getting those soft, airy buns.
-
Watch the Oven Temperature: Keep an eye on your buns while they bake. Every oven is different, so it’s a good idea to check them a few minutes before the suggested baking time. You want a golden-brown color, and a tap on the bottom should sound hollow, indicating they’re cooked through.
-
Glaze Immediately After Baking: When you pull the buns out of the oven, don’t wait too long before glazing. This will help the syrup or icing soak into the warm buns, adding flavor and shine.
-
Avoid Overloading with Fruit: While it’s tempting to add lots of dried fruit to the dough, remember that overloading the dough can make it heavy. Stick to the recipe’s suggested amount of fruit to keep your buns light and fluffy.
-
Try Different Spices: If you want to shake things up a bit, feel free to experiment with other spices in your dough. Ground ginger, cloves, or even cardamom can give your buns an exciting twist while still staying true to the traditional flavor profile.
Serving Suggestions
Hot Cross Buns are perfect for breakfast, brunch, or as an afternoon snack with tea. Here are a few ways to serve them up:
-
Spread with Butter or Jam: The classic way to enjoy Hot Cross Buns is with a little butter or fruit jam. The warm buns soak up the butter perfectly, making them even more irresistible.
-
Turn Them into a Dessert: Slice your buns in half, toast them lightly, and top them with a scoop of vanilla ice cream or whipped cream. You can even drizzle them with chocolate sauce for a decadent treat!
-
Serve with a Hot Drink: Pair your Hot Cross Buns with a hot beverage, like coffee, tea, or even a warm glass of milk. The flavors complement each other beautifully, creating the perfect comfort food experience.
-
Perfect for Easter Brunch: Traditionally eaten during Easter, these buns are a fantastic addition to any Easter brunch table. Serve them alongside other festive dishes like deviled eggs, quiche, and roasted vegetables for a complete meal.
 Conclusion
Making Easy Hot Cross Buns from scratch is not only a rewarding experience but also a delicious one. With a perfect balance of spices, fruit, and that signature cross on top, these buns make for a delightful treat that’s perfect for any occasion, especially during the Easter season. From the basic dough to glazing them with a sweet syrup, every step ensures that your Hot Cross Buns come out soft, fluffy, and full of flavor.
By following the tips and techniques outlined, you can create buns that are not only simple to make but also consistently perfect. Whether you enjoy them with a spread of butter, as a sweet dessert, or as part of a holiday brunch, these buns will be the highlight of your baking adventures.
So, roll up your sleeves, gather your ingredients, and give this classic recipe a try. With a little time, patience, and the right touch, you’ll be enjoying freshly baked, homemade Hot Cross Buns in no time!